|
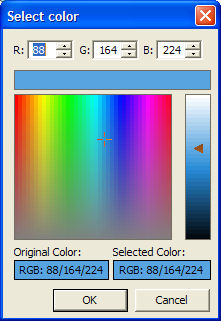
The Needles bar has two functions. Primarily this toolbar is used to quickly set different screen colors by right clicking on any block and picking a color. As a second function, this toolbar is also used to add Color Changes, Thread Cuts, or Stop functions to a design by left clicking on the desired function. Left Click any block in the Needles bar to assign that color to a selection or to the next created object. Click the Stop or Trim icons to assign a stop or cut code to the end of the object list. Right click any block in the needle bar , a pop up control will open. Select the desired color from the rainbow palette, select the severity from the right column. Click. Ok to accept. When this control is open, the mouse cursor will change to an eye dropper. Alternatively, you can directly type in the values for RGB ( Red - Green - Blue) in the control boxes at the top of the box |
|
The Needles Bar contains quick access to the Stop and Cut function. If at any time during the creation process you want to insert a Stop or Cut code, simply click this icon, and proceed to the next block. |
Created with the Personal Edition of HelpNDoc: Easily create PDF Help documents